Chandelier & Pendant Installation: The Basics
The following guide is intended to present, in a generalized way, the basics of chandelier and pendant installations. It assumes you already have an electrical junction box in your ceiling, as would be typical when replacing a chandelier or pendant. If any of the below steps are of a concern, we recommend hiring an electrician, but for those ready to put on their tool belt, the below is what you can expect on your install day. Of course, each fixture we sell will have slightly different install steps, so we recommend following the install guide included with your fixture as you carry out the installation.
Step 1: Be Smart

Before beginning, turn the power off at your electrical panel breaker box. Don't rely on a wall switch to keep you safe.
Step 2: Mounting Bar / Plate

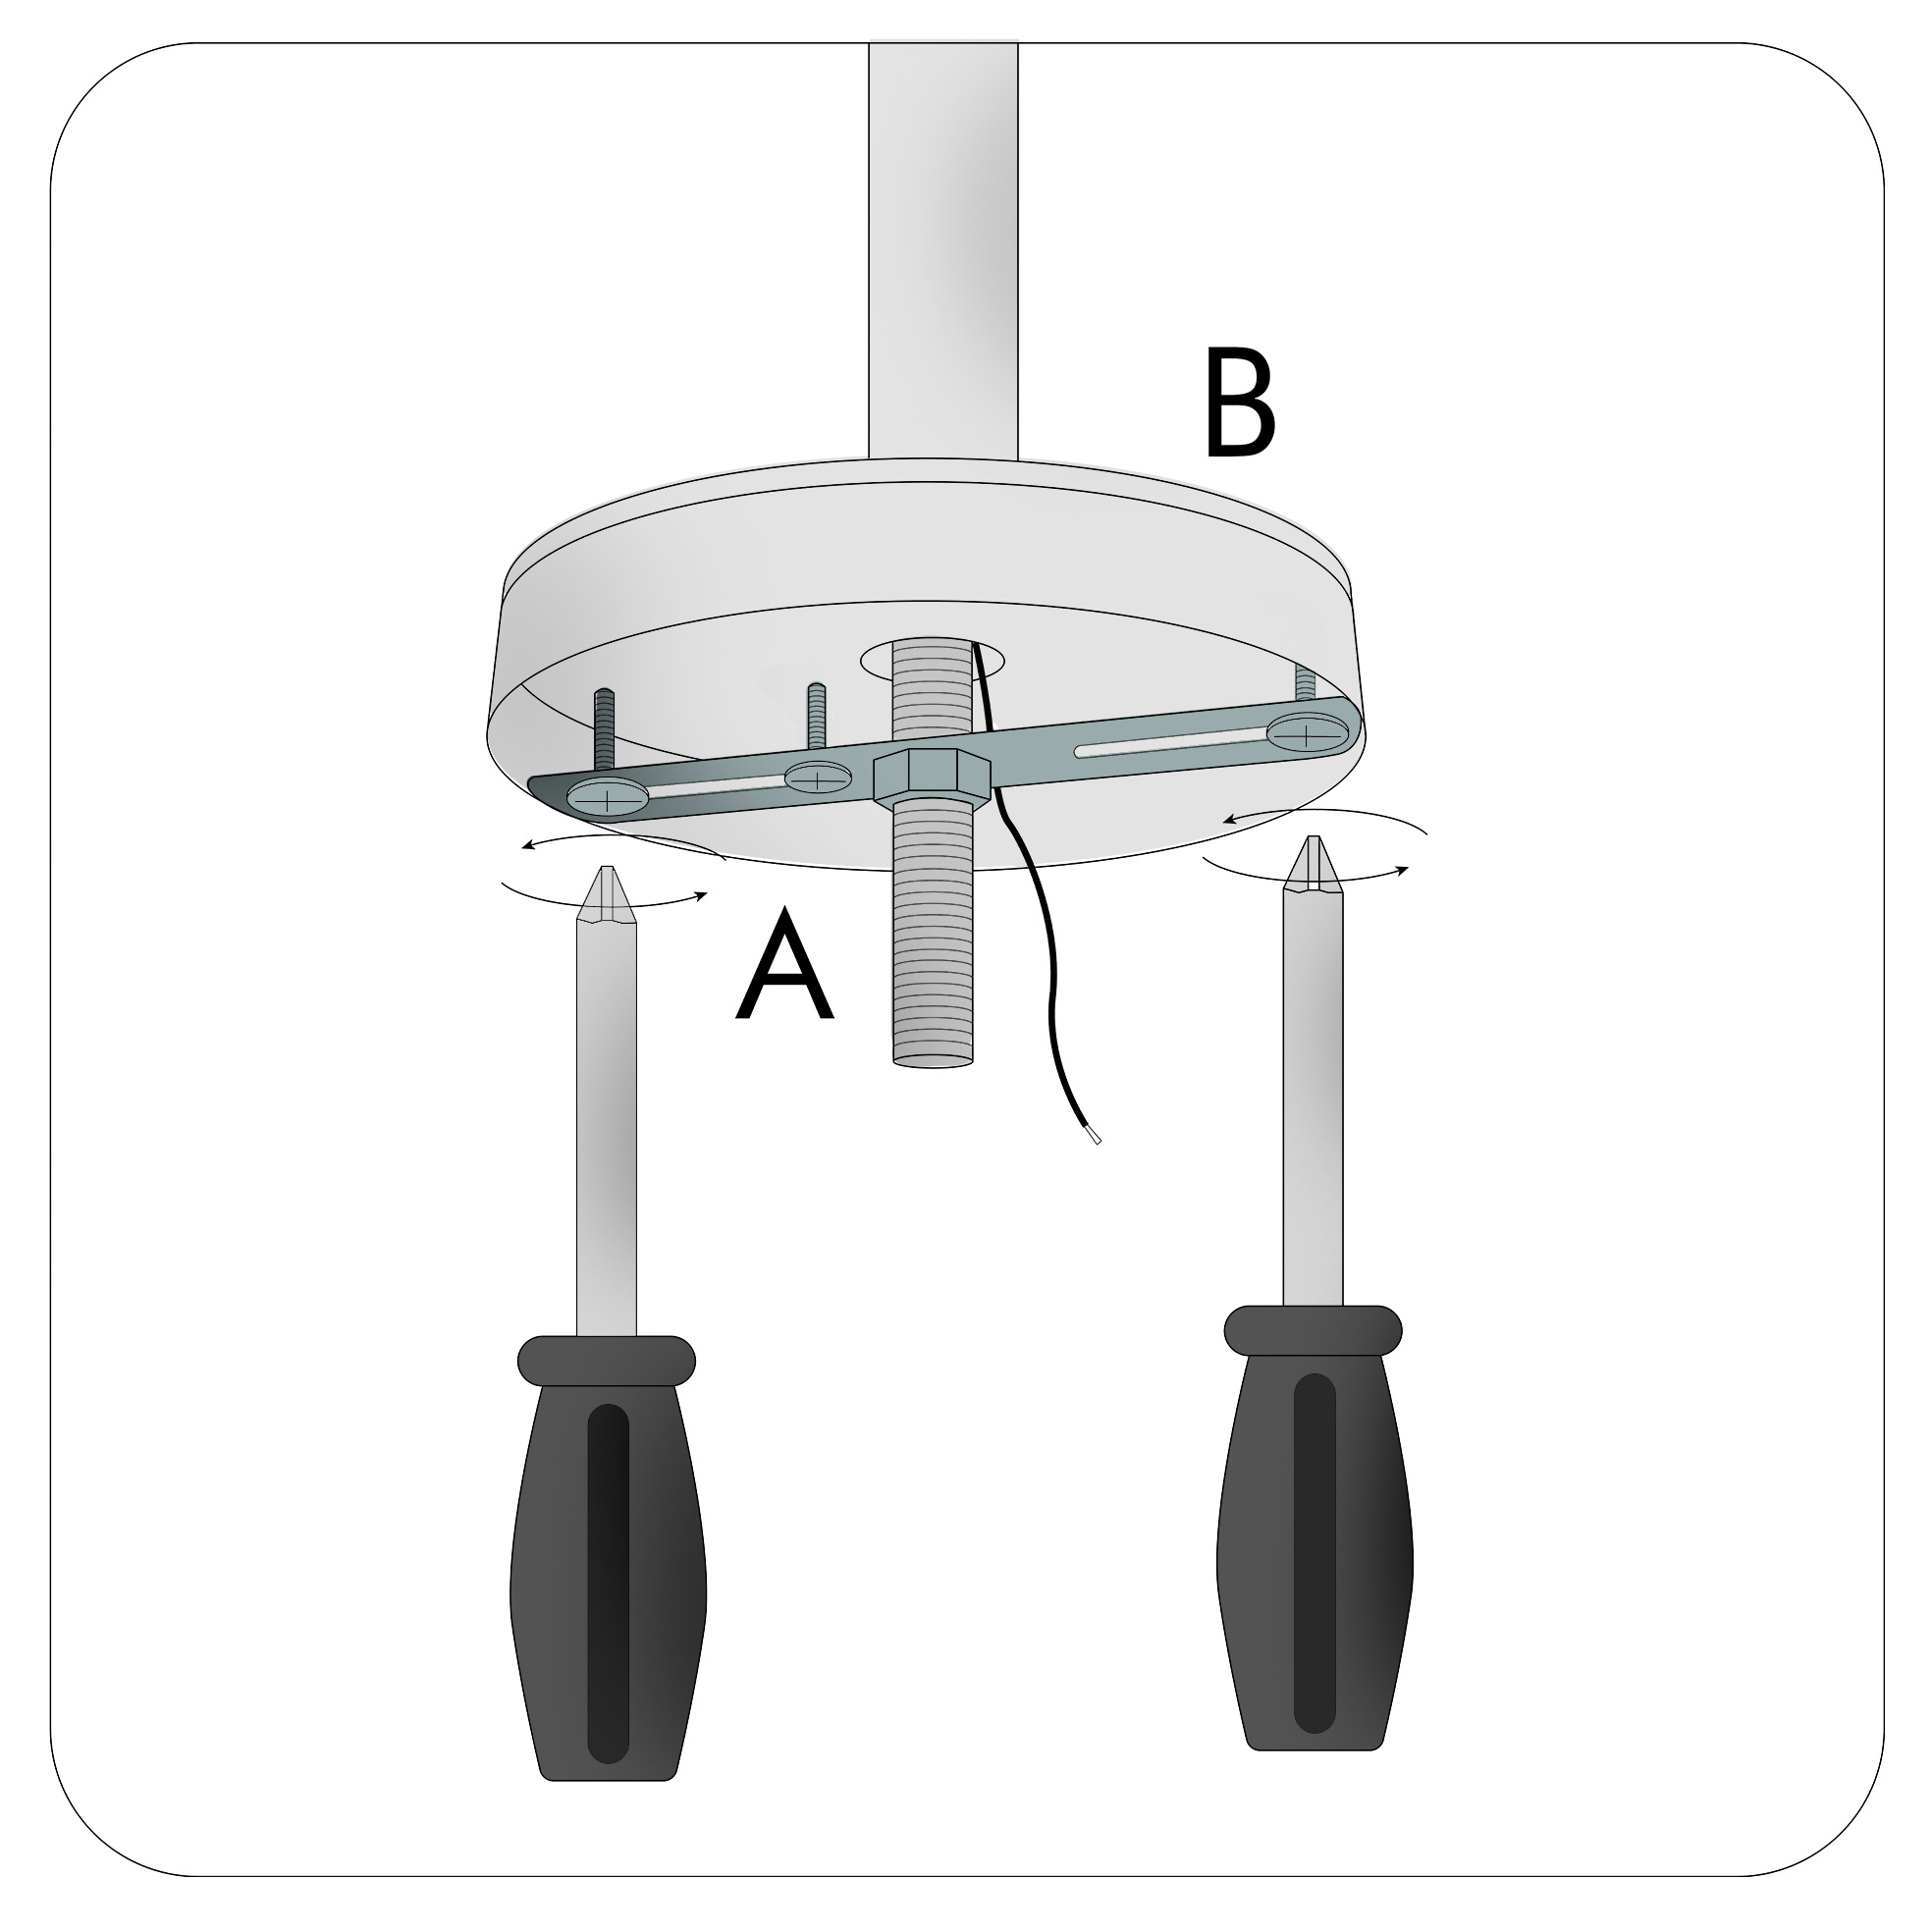
Install the mounting bar (sometimes a circular plate) to your ceiling junction box using the screws provided with your junction box.
Step 3: Measure Height

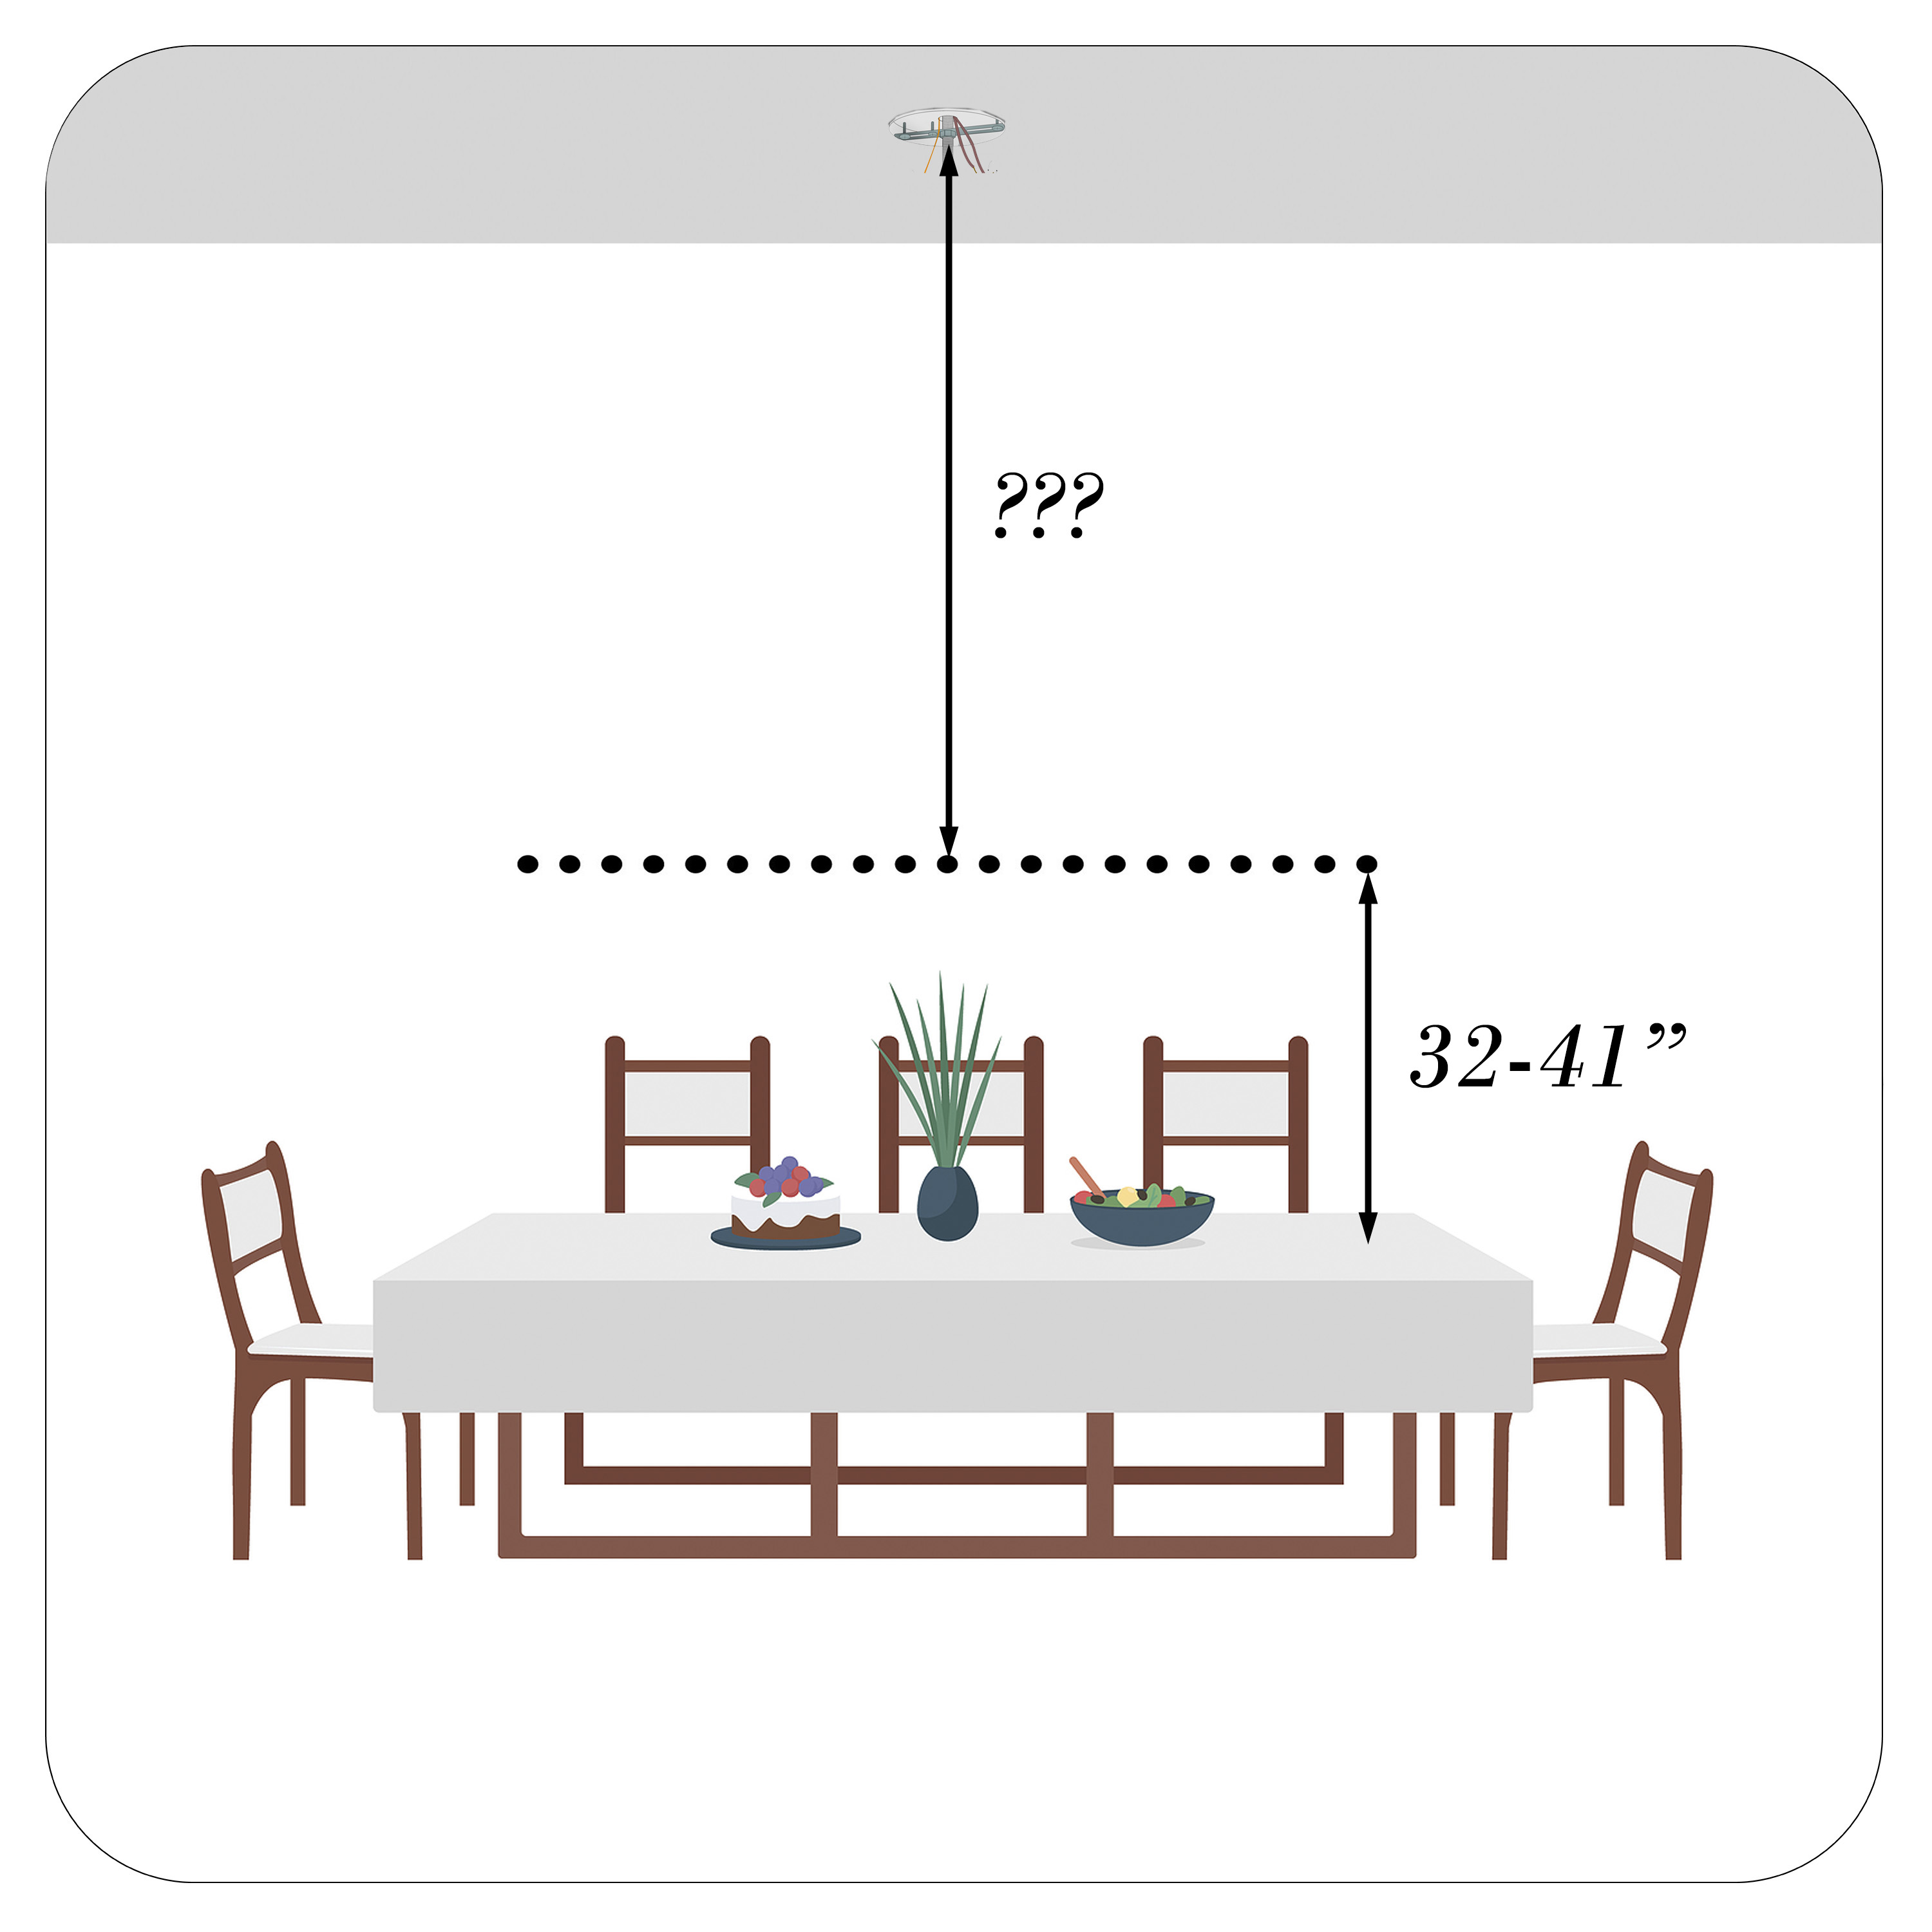
Measure the distance from your ceiling, to the desired location at the bottom of the fixture (generally 32"-41" from tabletop)
Step 4: Cut Fixture Wires

With your measurement from Step 3, establish the length of your downrods and/or chain, then cut the fixture wires to length, plus 8".
Step 5: Downrods

If your fixture has downrods, feed the wire through the first one, and each subsequent, twisting the downrods tight as you go.
Step 6: Open Chain Link

If your fixture has chain, open the link at your desired length and remove unneeded chain. "Chain pliers" make this step very easy.
Step 7: Weave Wire

Close the chain link around the top hoop of your fixture (or downrod finial) and weave the wire through the remaining chain links.
Step 8: Strip Wire

Separate the wires, and using wire-stripping pliers or a sharp blade, carefully remove 3/4" of the wire insulation at the ends.
Step 9: Ready Canopy

Prepare the canopy for install by passing the wires through the opening, then install the chain or downrods to the canopy.
Step 10: Connect Wires

Using the wiring nuts provided in the parts bag with your fixture, lift your fixture up and make the wire connections as outlined in the install guide. This step may require two people.
Step 11: Install Canopy

With the fixture assembled, and wires connected, lift and connect the canopy to the mounting bar. Follow the install guide for this step. This step may require two people.
Step 12: Add Bulbs

The final step is to add bulbs and restore power to the room. Your fixture install is complete. Be sure to check out our bulbs and care and cleaning guides for more information.